Intermountain Santa Fe Caboose
Updated
7-25-10
A full review of the Intermountain early ATSF cabooses appeared in The Warbonnet 2009:4. Since the 1950's version was not produced, many may choose to build the kit (CCS1199).
At the 2010 Convention, John Moore gave a clinic on the Santa Fe Steel Waycars. His materials are posted on this site:
Released in December, 2009, were:
- CCS1101 1650-1749 Class Original (A.T.& S.F., black roof walk & hand railings)
#1651, 1693, 1709, 1736
- CCS1103 1875-1978 Class w/wigwag
(A.T.& S.F., black roof walk & hand railings) #1877, 1915, 1928, 1964
- CCS1107 1750-1874 Class Radio Equipped (ATSF, white grabs, scotchlight reflectors, generator door)
#1761, 1786, 1842, 1862
Coming in Jun/Jul 2010 are:
- CCS1105 1979-2000 Class, post 1943 lettering (ATSF) 1981, 1988, 1993, 1997
- CCS1106 1650-1749 Class w/wigwag (A.T.S.F) 1665, 1684, 1712, 1740
- CCS1108 Black Roof (ATSF)
1623, 1628R, 1649R, 1813
Use caution in ordering the CCS1108 group as it had a different grab iron configuration on the roof of the cupola than the kits already released. It is unknown if Intermountain is producing a new cupola.
The Intermountain instructs are incomplete. Peter Aue has produced a more detailed set of instructions for the construction of the cars.
For those building kits, you are encouraged to do some research of the prototype prior to construction as there are many variables.
- In the early days cabooses were assigned to a conductor, not pooled. Therefore they would stay in one locality for a period of time, and frequently on the same run. If you find a photo of a caboose in your time frame and modeling location, it probably was assigned to that area.
- James Burke recorded every locomotive and caboose he saw in 1948-49. Some of that information has been transcribed into an excel spreadsheet for you to use. Most of the sightings are in Emporia, El Dorado, and Chanute Kansas.
- Secure photographs of the caboose you choose to model. Details varied considerably. A copy of the Ellington and/or Priest caboose books is invaluable.
- The kit includes:
- 2 tool cellars. The wooden one is too long for use with AB brakes and must be shortened.
- 2 smoke jacks.
- 3 platform ends: 1 vertical staff brake and 2 Ajax brake heights. All cabooses delivered prior to 1949 were delivered with 30 inch end railings.
- 2 brake connectors: one for vertical staff, one for Ajax.
- 2 brake systems: K and AB. John Moore has provided a list from 12-1-52 of Santa Fe non-interchange cars that still had "K" brakes. The cabooses are on page 3 of the list.
- Three roof walk configurations, one metal, two wooden. There were other variations on these. None of these cars were built with metal roofwalks.
- Optional firecracker radio, generator door, and large wig-wag signal. Some cars also used the small wigwags which are not included. (See Priest 164, 167, and below.)
- Trucks with plastic wheelsets
- No couplers, but Kadee 78 are recommended as the kit was designed for the narrow coupler pocket.
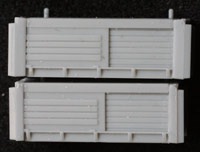
- The kit is correct for 1500-2000 class waycars. The only difference between these and the 2001-2200 class is that the lower panels on the later cars have 4 panels instead of 2. This is easily overlooked.
- The kit provides uncoupling levers for top uncoupling. You will need to make your own levers for bottom uncoupling.
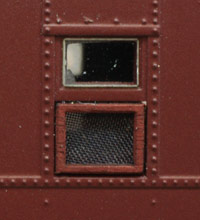
- AMB Laserkit 152-341 provides superior side window screens for the car. The screen door on the kit does not fit the Intermountion car, but those screens seldom appear in photos.
- The platform whistle provided in the kit does not match prototype photos. Precision scale also makes a similar part (31762), but it also doesn't match ATSF prototype.
- The kit does not include marker lights, and no one who makes appropriate markers in brass or plastic. The Santa Fe markers connected at a 45 degree angle and had 4 lenses.
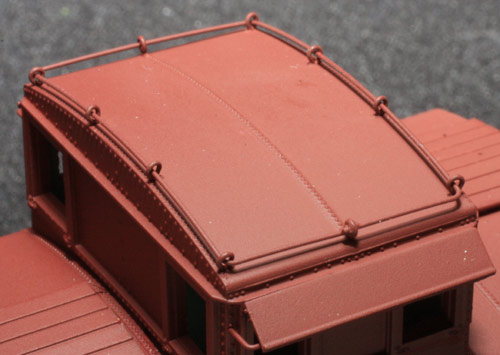
- The kit cupola roof grabs are designed to be one piece surrounding the cupola. The eyes are oversize, and appearance could be improved with smaller eyes. This represents only one of 5 configurations used by the Santa Fe. Again refer to photos. The 5 are:
- 1 piece, as in the Intermountain kit.
- 1 piece, as in the Intermountain kit, but with 5 front and rear supports instead of 4 (See Priest p. 19 and 20 of 1516, 1587, and 1607)
- 2 "C" shapped pieces with the ends rived to the roof on each side over the window. (See Priest p. 24 and 25 of 1716, 1735, 1658, 1667)
- 4 pieces. 2 "C" shaped pieces over the side windows and 2 straight pieces on the apex of the roof. (See Priest 17 of 1623 and 1627).
- 4 corner grabs, as on the corners of freight cars. (See Priest 33 and 35 of 2189, 2191, 2192, 2194)
- Microscale MC-4401 is the correct decal set for these cars. Refer to photos for details such as whether or not the car number appeared on the ends of the cupola.
- Painting. Photos are essential. Options include:
- Brown roof or black roof. If black, what is the treatment on the cupola?
- Brown walkways or black walkways.
- Black, brown, or white grabs and ladder rungs. Which grabs?
- Decide up front if lights are to be installed, as the electrical connections may change whether you glue the floor in or add screw mounts. The weight may also need drilling to allow for wiring. For an example of using LED markers, see this.
Some hopefully helpful photos: (Click for enlargements)
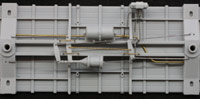 |
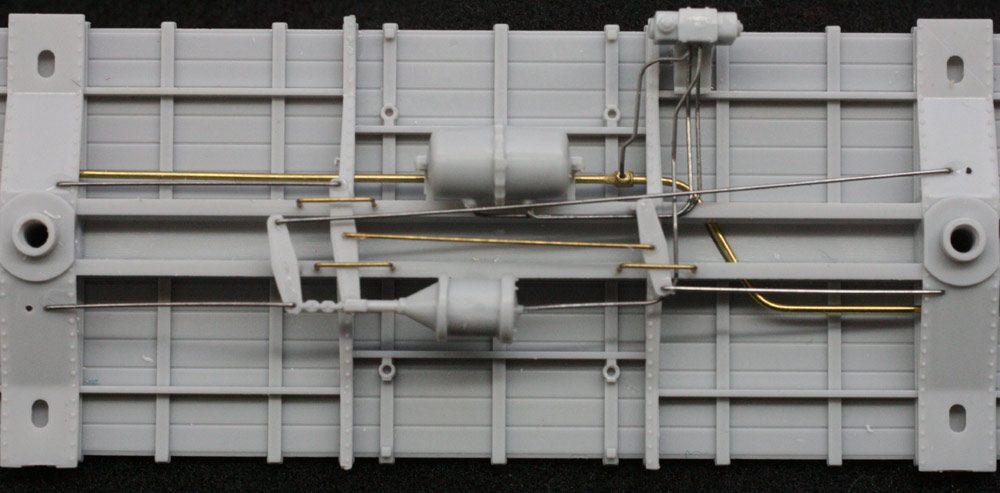
AB Brake installation. |
 |
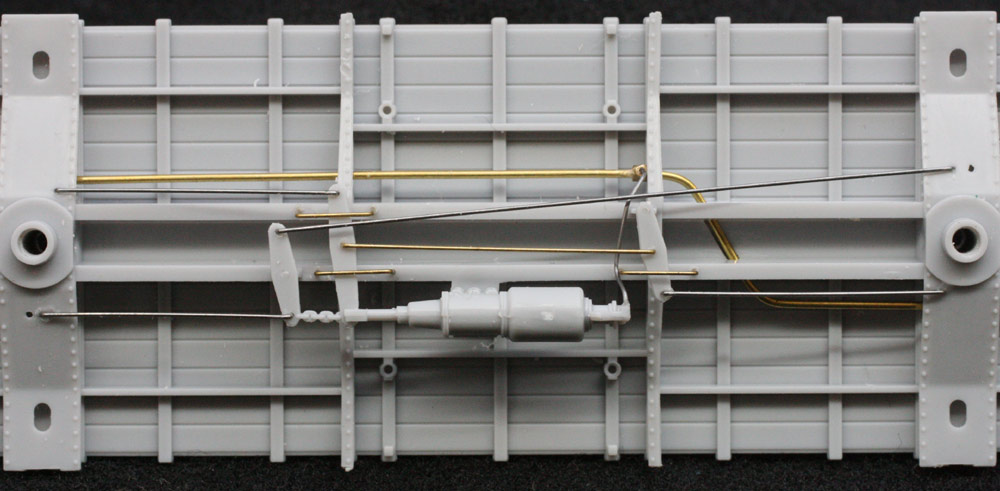
K Brake installation. |
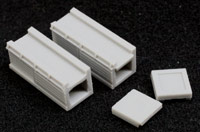 |
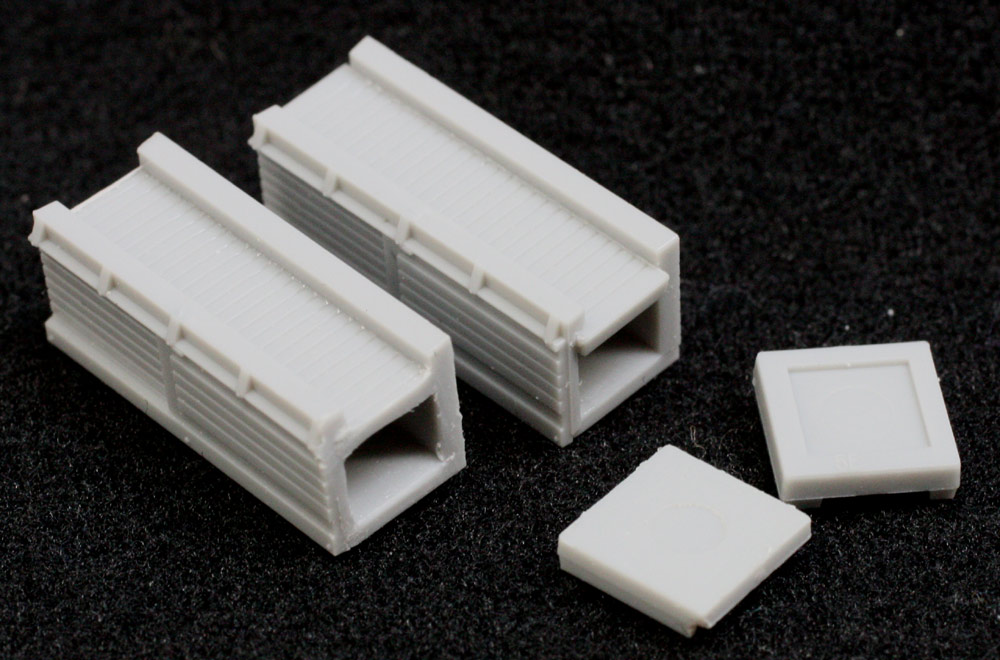
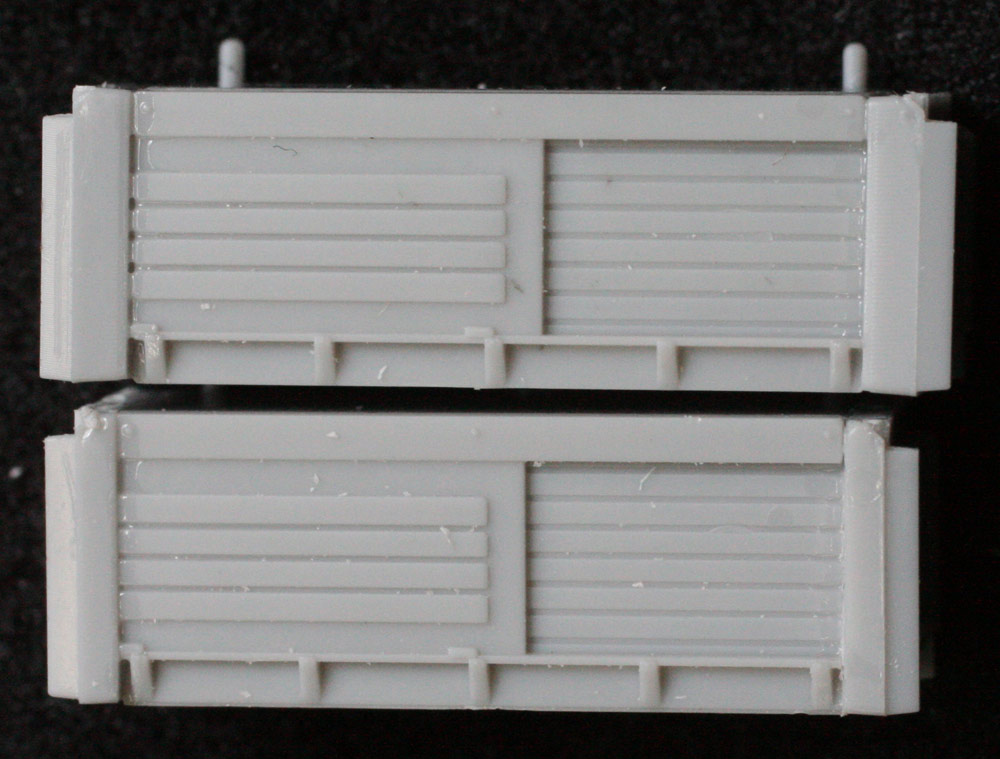
Wooden tool cellar. For use with AB brakes, file the end of the cellar body smooth on the end. The file the lips off of the end piece. |
 |
The result makes the end straps narrower and allows room for the AB brake to fit. I also cut the mounting tabs from the bottom of the brake platform and move it over to the crossmember. |
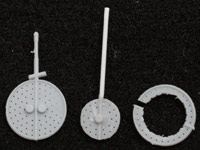 |
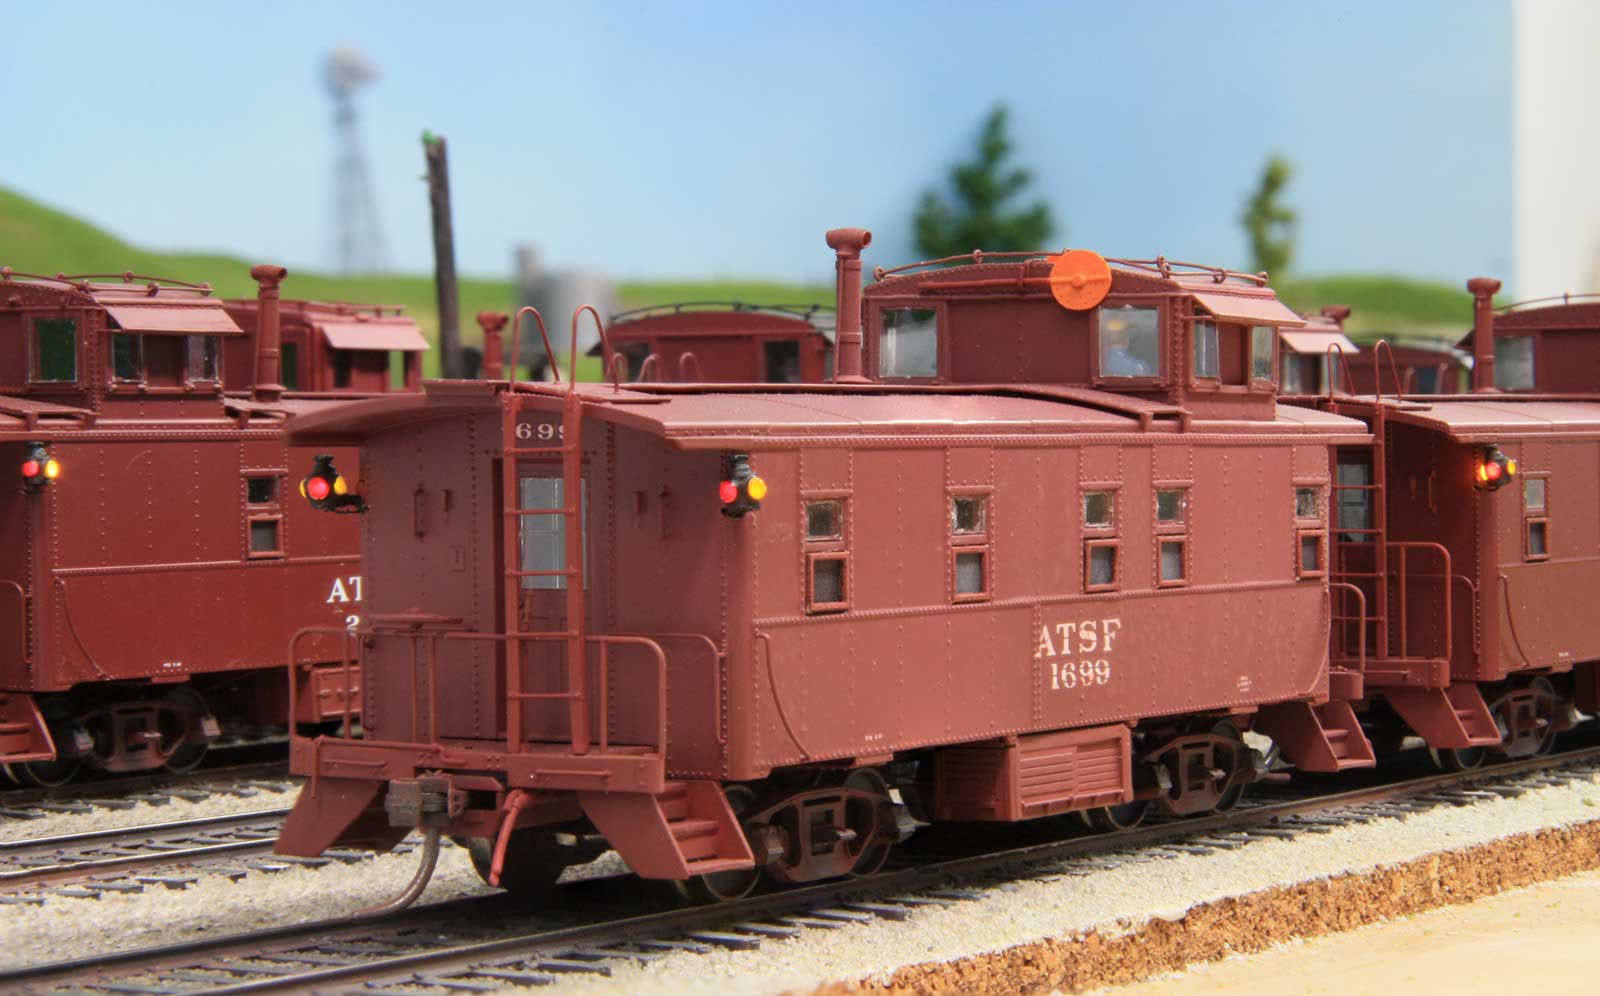
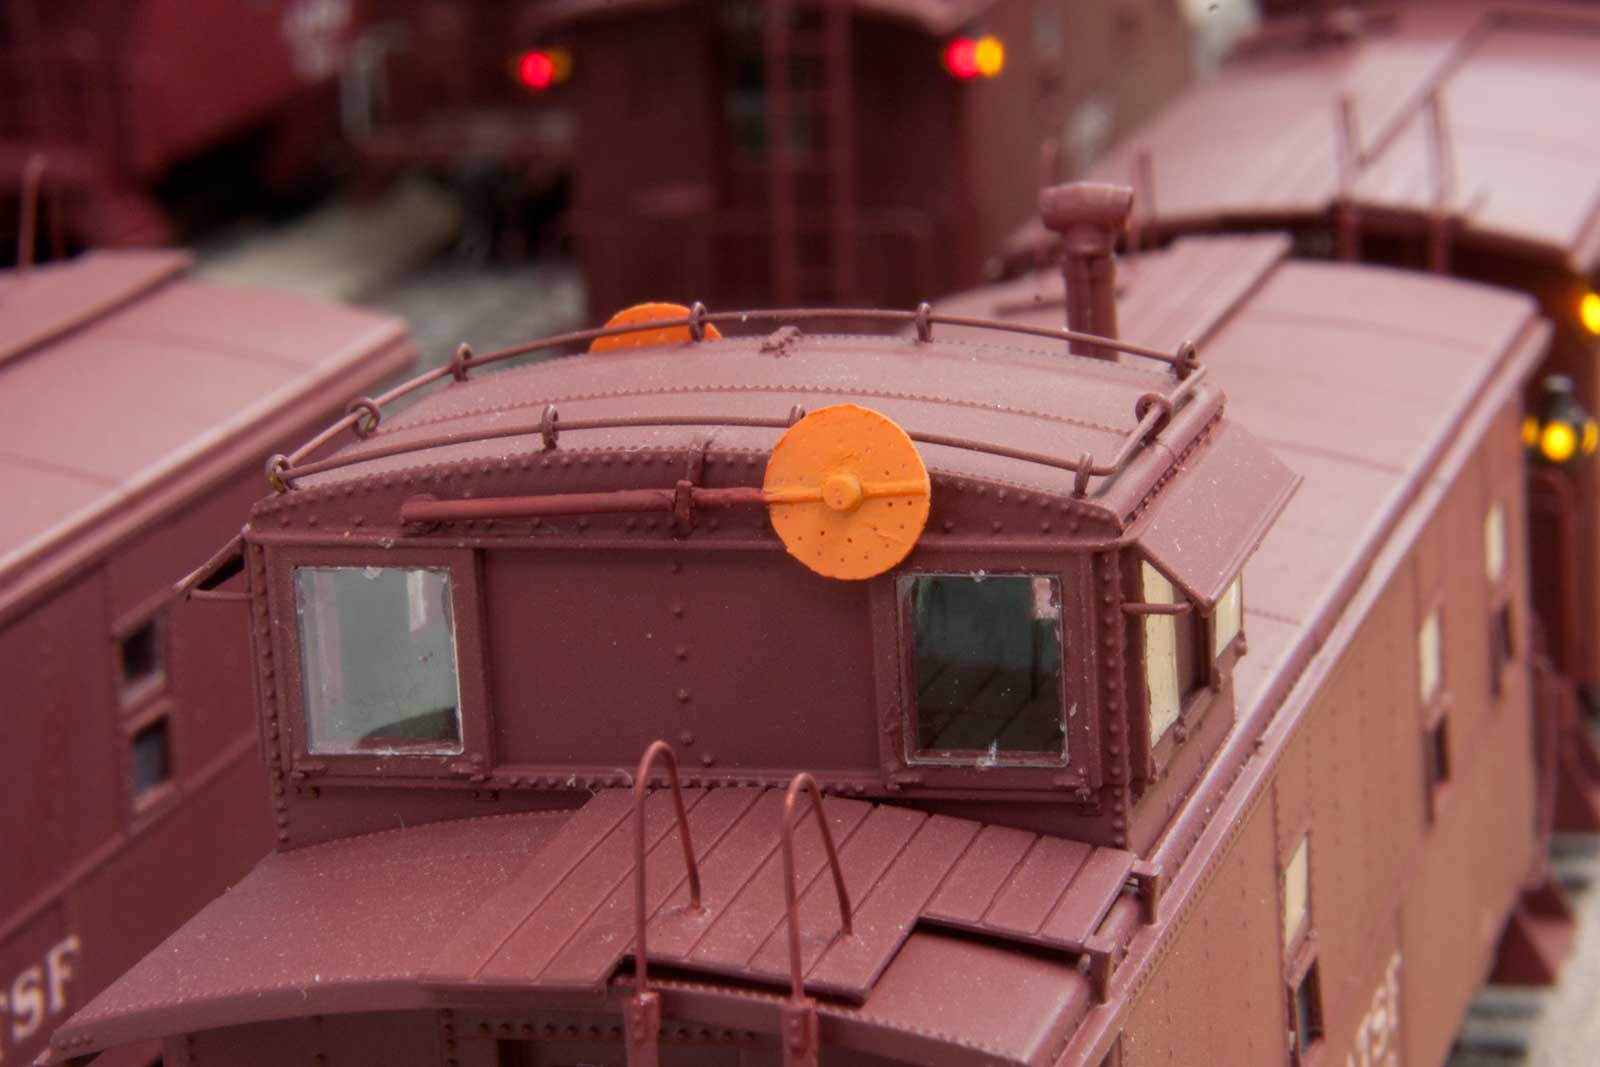
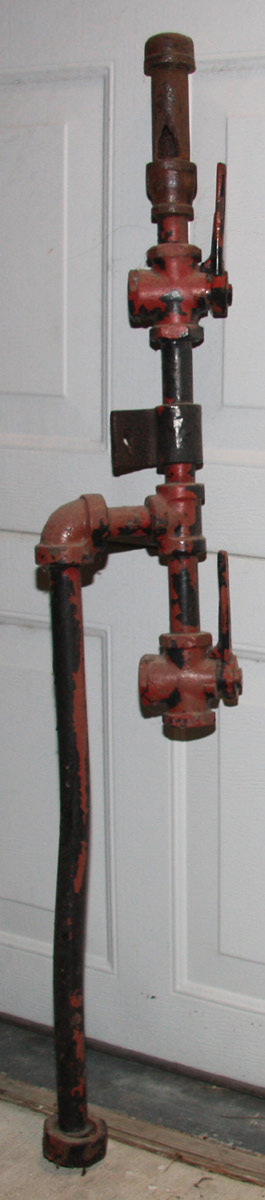
The Intermountain wig-wag can be used to make an early 18" wig-wag. Carefully remove the diagonal mounting piece from the shaft. Cut the shaft off at a 45 degree angle. Cut the light cans from the front and back of the wig-wag and keep them for the next step. Cut the disk circularly on the 2nd row of holes and remove the "donut." Use a file to smooth down the outside surface and tweak it to make it round. Glue one light can back in the middle of the disk. Glue Evergreen round styrene to make the new shaft. The reason for the 45 degree cut is to give more gluing surface. Consult photos for painting, for there were 3 schemes used, the last being orange. |
 |
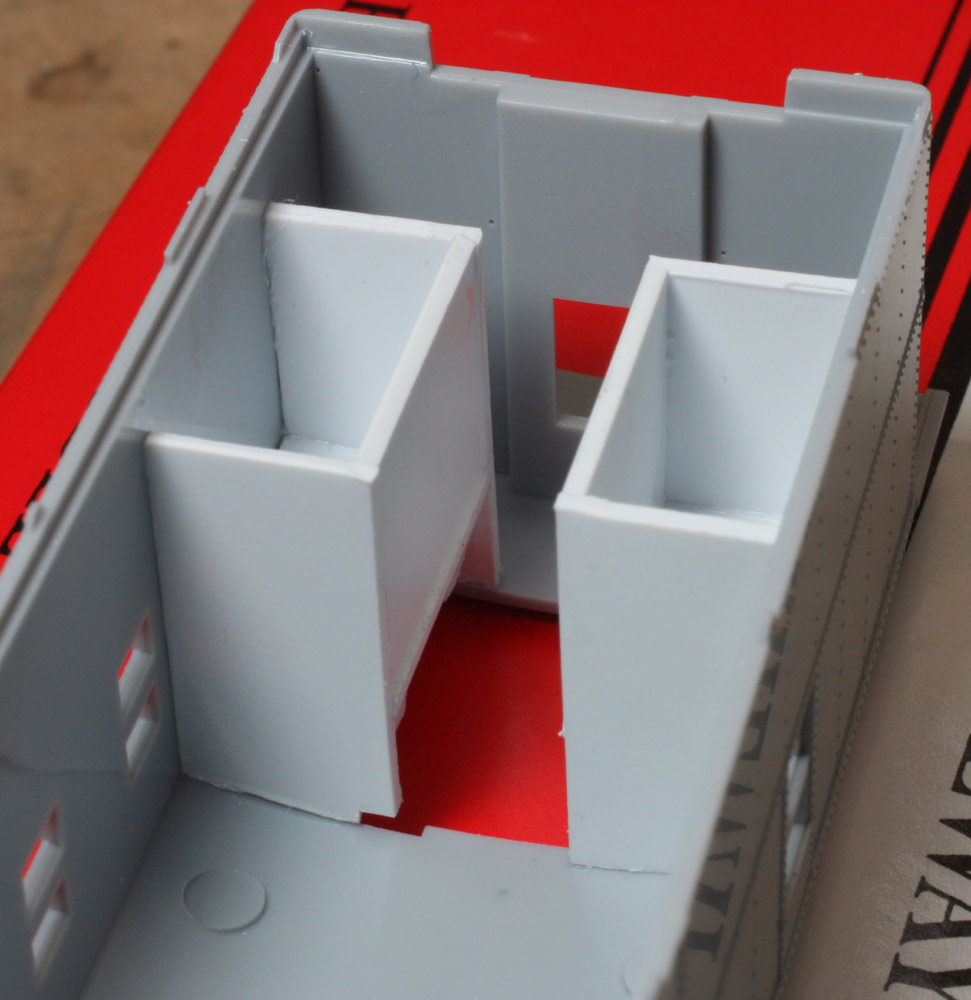
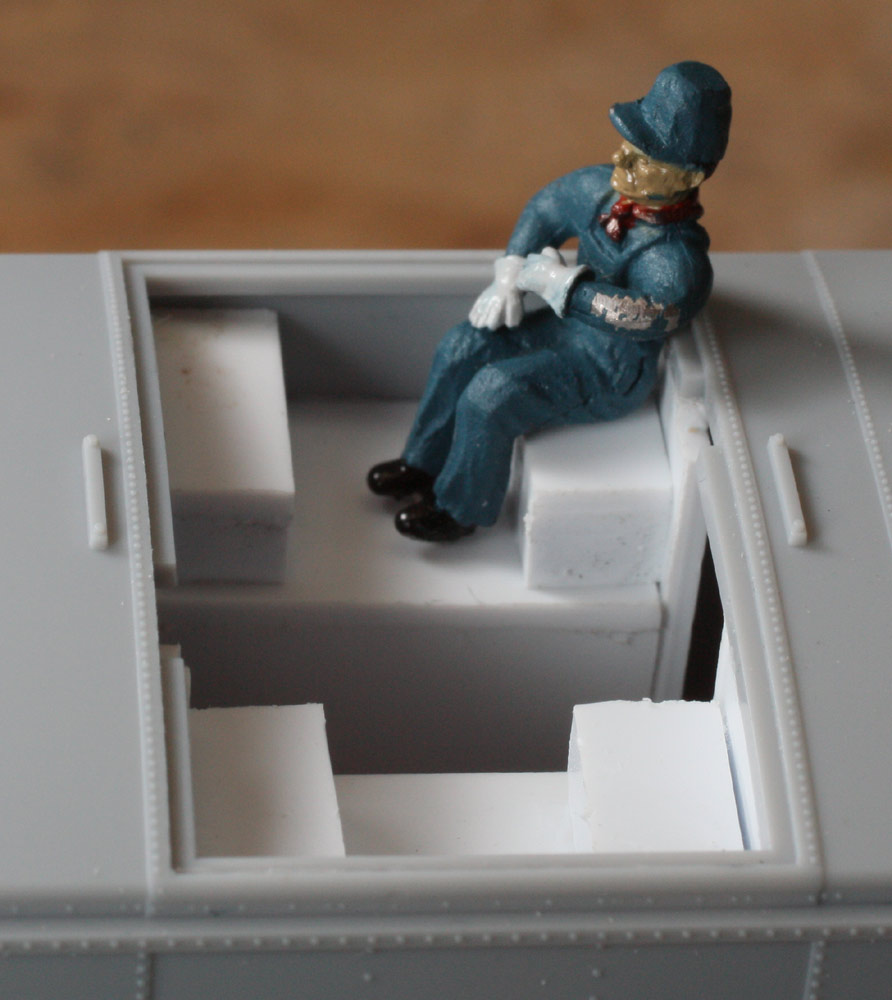
Seats can be added to put a conductor in the cupola and to serve as a view block. |
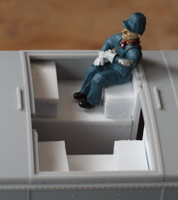 |
Simple styrene can be used for this purpose.
Below are some sample cars built by Steve Sandifer. |
1716
(Staff AB brakes, black roof, wood tool chest)
|
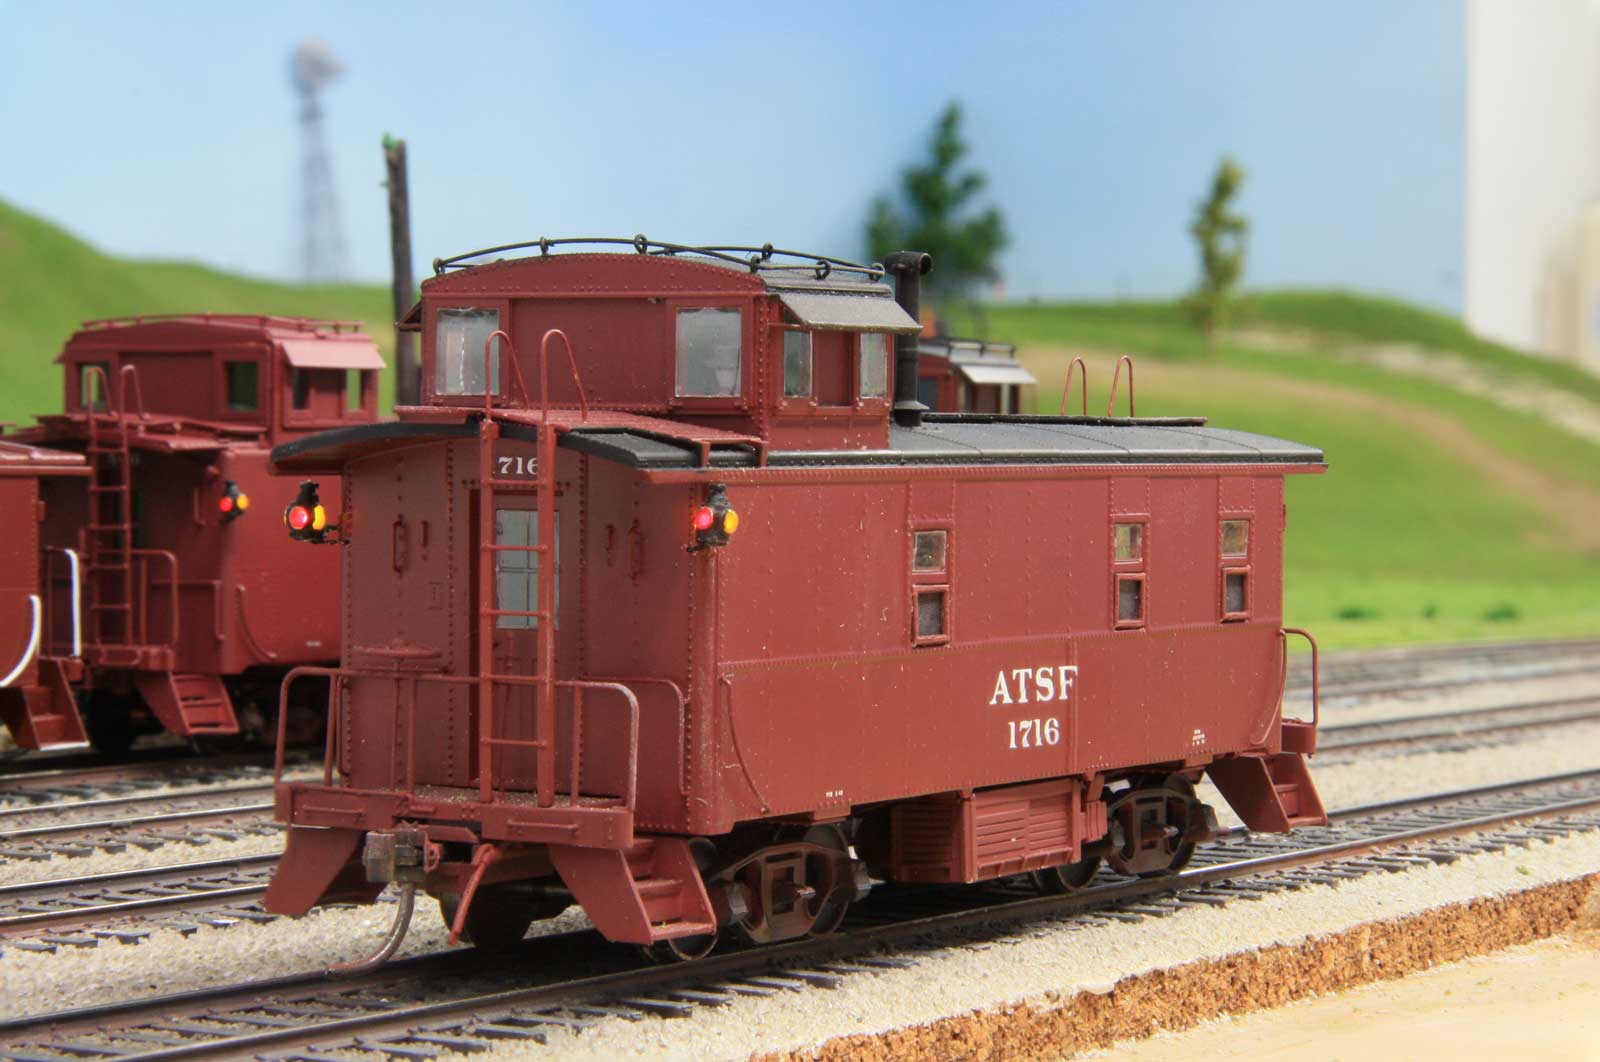
1699 (Stencil lettering, early wig wag, made from Intermountain later version, Staff K brakes)
|
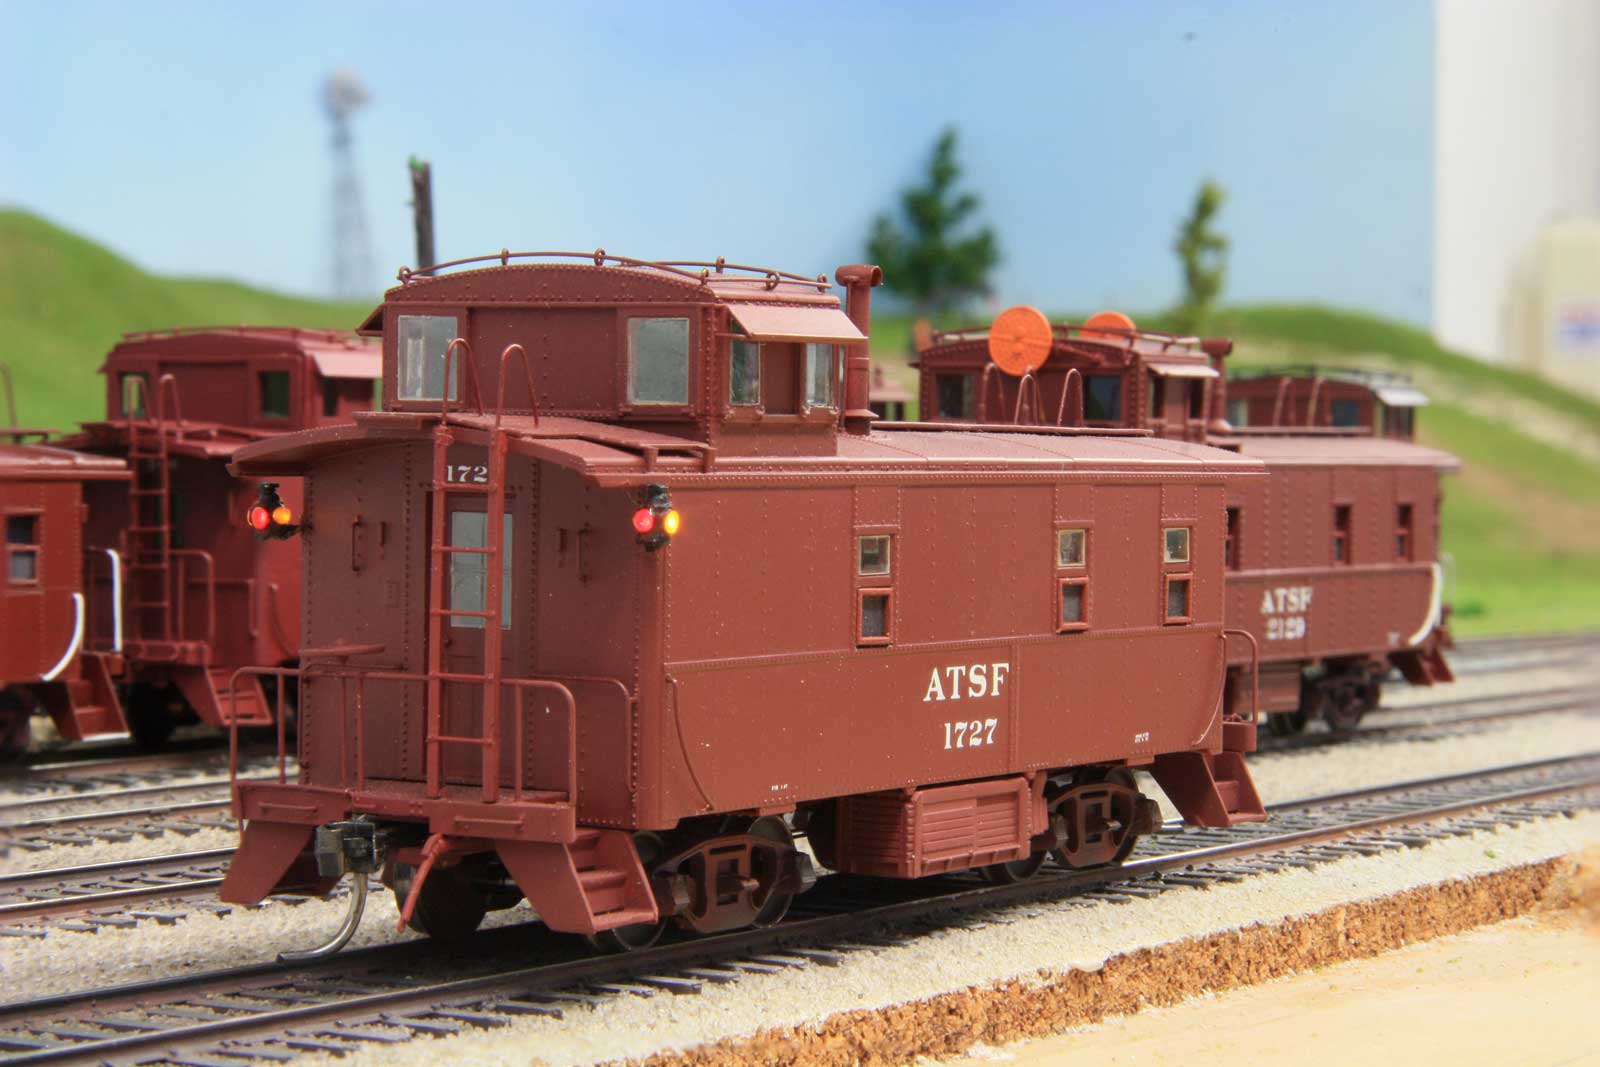
1727
(Staff AB brakes, wood tool chest) |
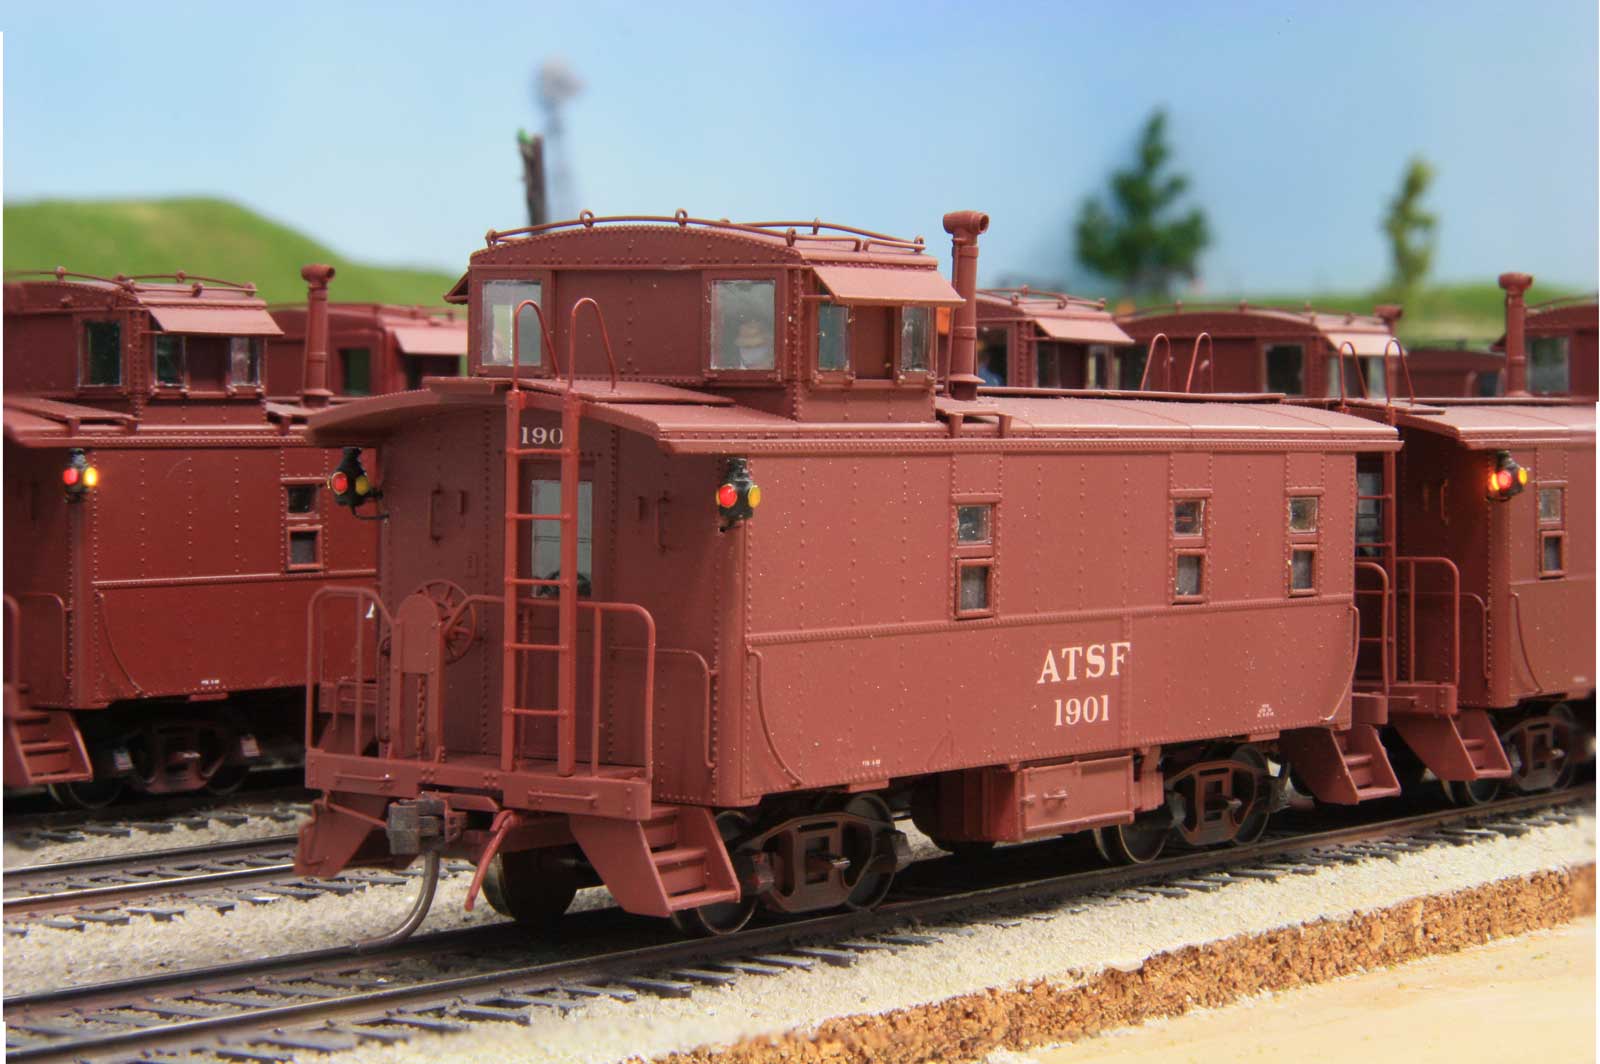  1901 (High platform rails, Ajax AB brakes, steel tool chest, different roof grab configuration) |
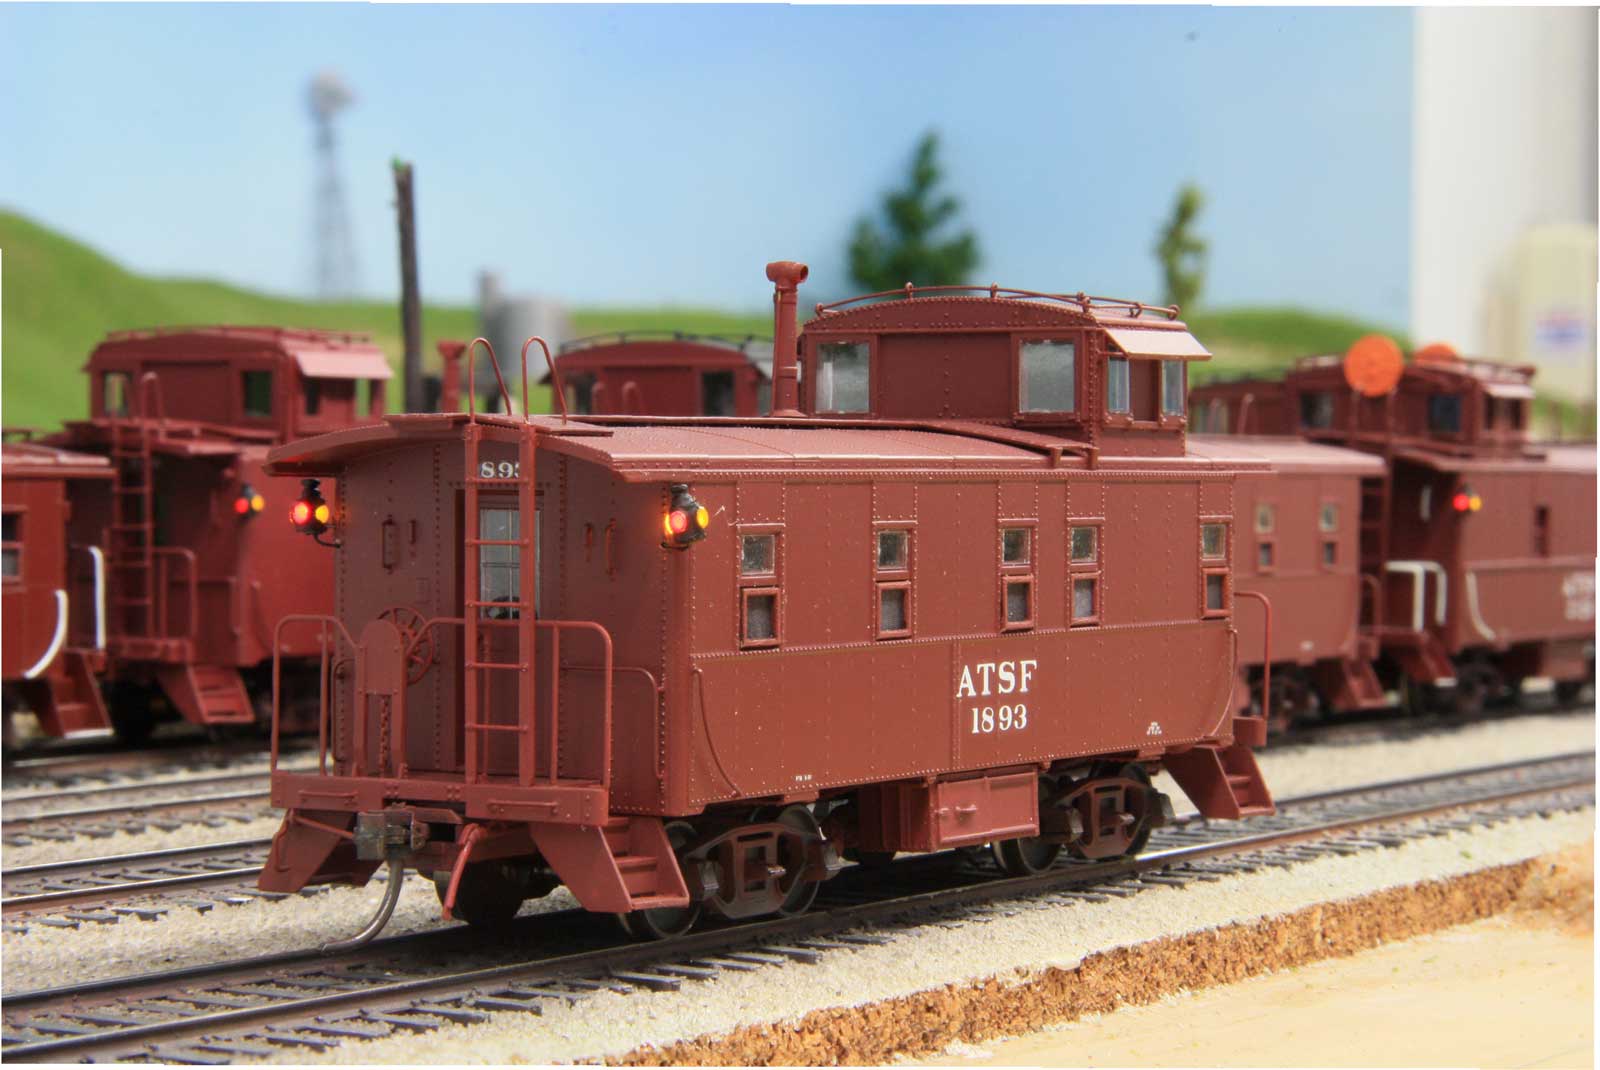
1893 (high platform rails, Ajax AB brakes, steel tool chest) |
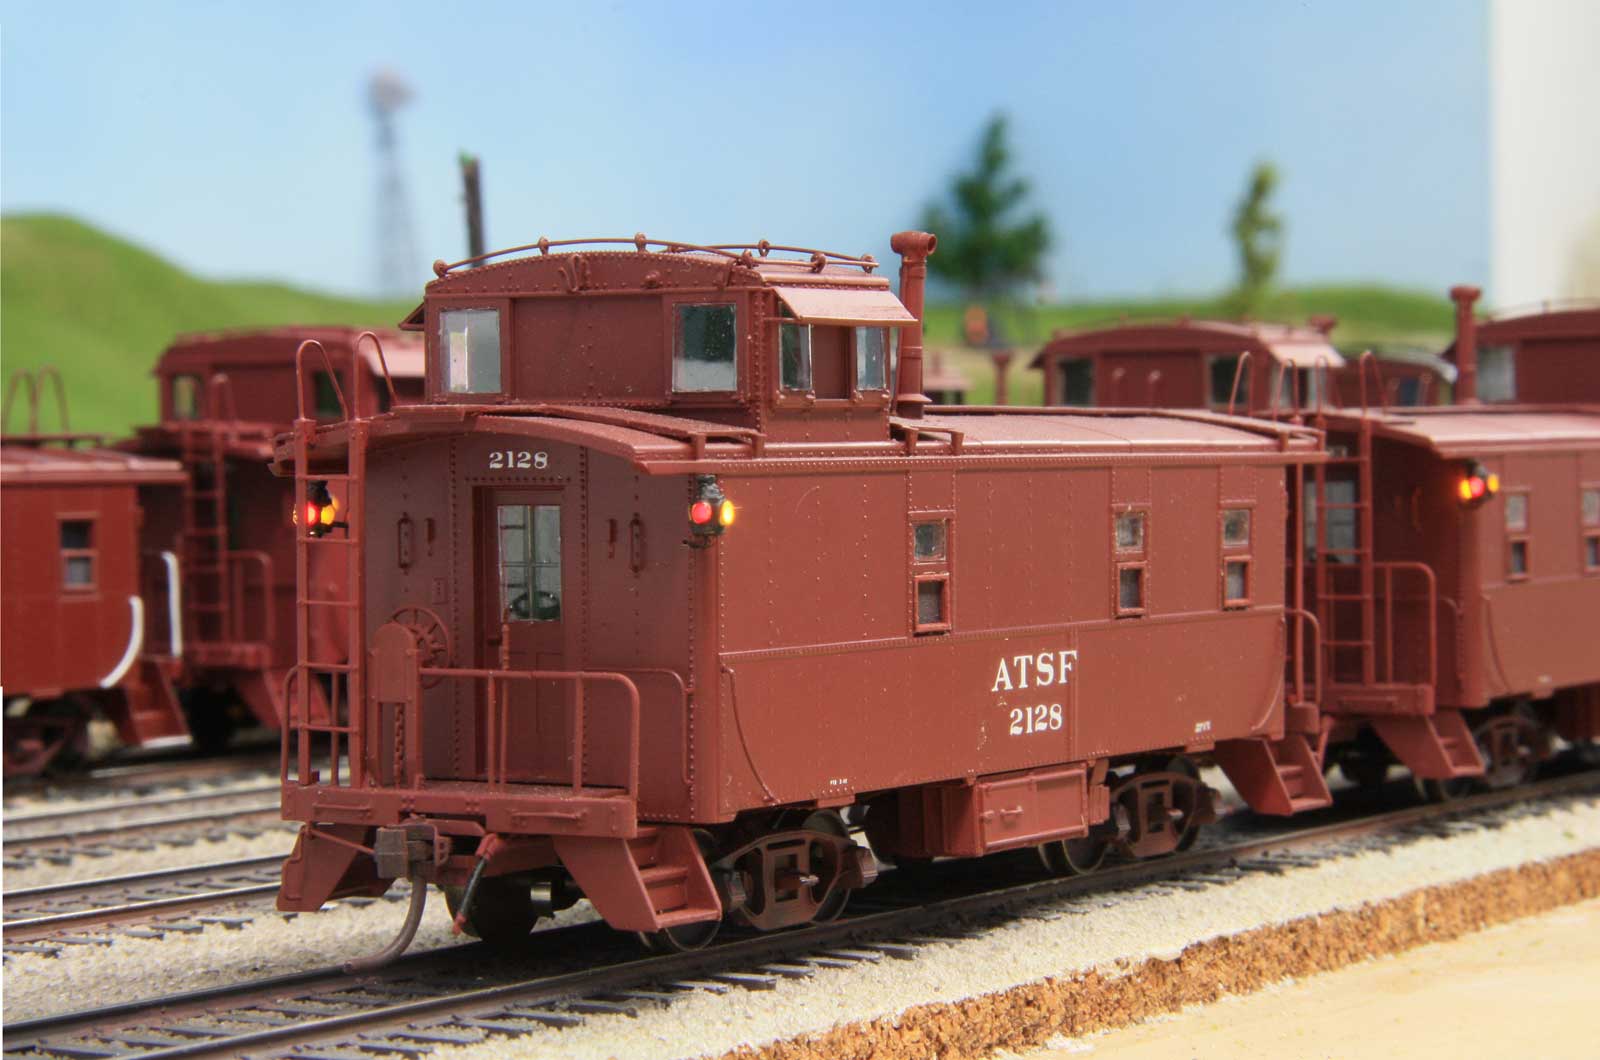
2128 (Low platform rails, Ajax AB brakes, reversed ladders, wig-wag removed) |
|
| |
|


